
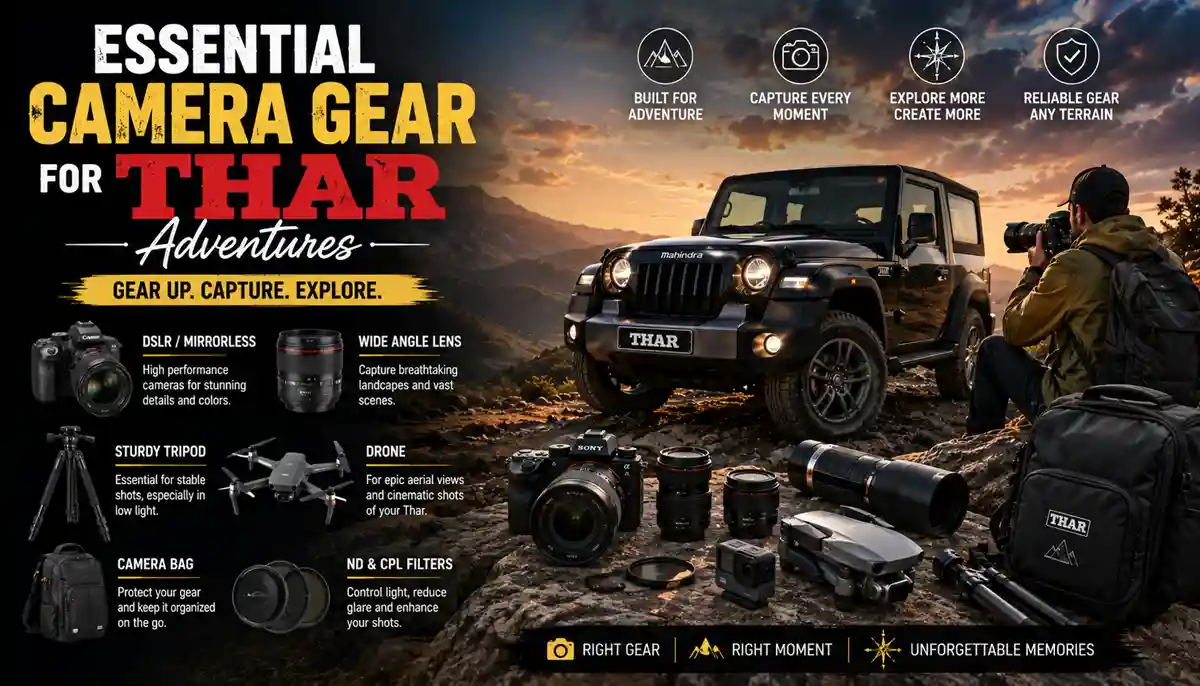
Photography Tips for Your Thar Adventures Capture Stunning Off Road Photos
Planning a Thar road trip and want photos that actually look as exciting as the ride felt? You’re in the right place. These photography tips for your Thar adventures will help you capture sharp, colorful shareable shots, even if you’re using nothing more than your phone.
The short answer to how do I get great Thar photos is simple: use natural light well, get low and shoot from creative angles, time your shots around sunrise or sunset keep your composition clean. The rest of this guide breaks each of these down step by step you can apply them on your very next trip.
Introduction to Thar Adventure Photography
Every Thar owner knows the feeling. You’re climbing a rocky trail, dust is flying behind you the view ahead looks like something from a film. Naturally, you want to capture it.
The good news is that you don’t need a professional photography background to take great pictures. With a little planning and the right habits, anyone can take photos that look polished and exciting.
This guide walks through everything from camera gear to editing whether you’re using a smartphone or a DSLR, you’ll walk away with practical, usable tips.
Quick Facts Box
| Quick Fact | Details |
| Best time to shoot | Golden hour (early morning or late evening) |
| Best basic gear | Smartphone with grid lines enabled any DSLR/mirrorless camera |
| Most flattering angle | Low angle, shooting slightly upward |
| Best terrain for drama | Desert, mountain trails, river crossings |
| Common mistake | Shooting in harsh midday sun |
| Editing tools | Lightroom Mobile, Snapseed, VSCO |
Why the Mahindra Thar Is Perfect for Photography
The Thar has a boxy, rugged shape with strong lines, round headlamps a high ground clearance. These design features naturally photograph well because they create strong silhouettes against open skies.
Add in the fact that Thar owners usually drive it to scenic, less crowded places like deserts, hill trails riversides you already have a great backdrop before you even pick up your camera.
Its versatility also means you get variety in your photo collection. One trip might give you dusty desert shots, while the next gives you misty mountain images, all featuring the same vehicle in completely different moods.
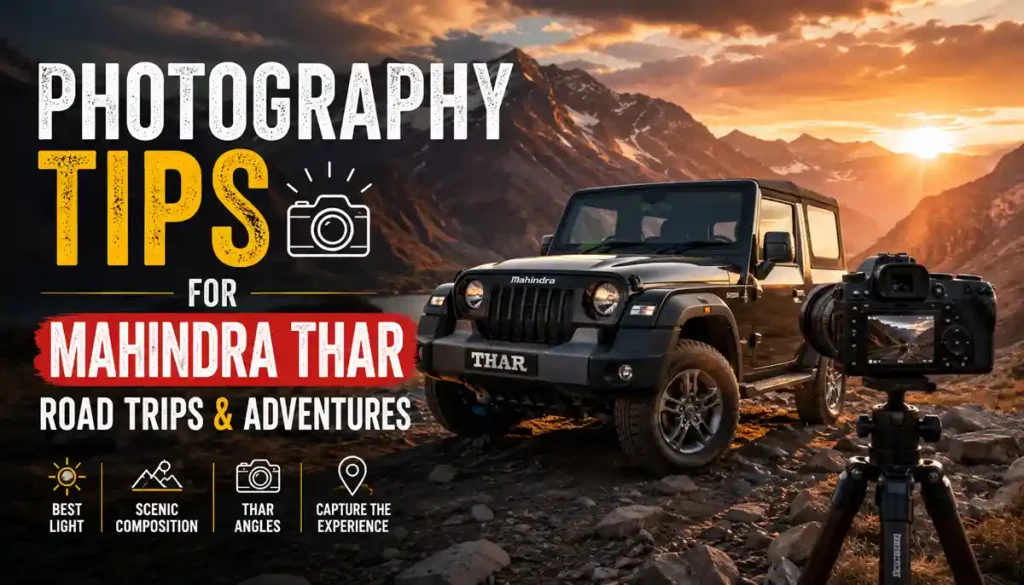
Essential Camera Gear for Thar Adventures
You don’t need to buy everything at once. Start simple and build your kit over time based on what you actually use.
Cameras: A smartphone with a good camera is enough to begin. If you want more control, a mirrorless camera is lighter than a DSLR and easier to carry on rough trails.
Lenses: A wide angle lens works best for capturing the Thar along with its surroundings, especially in tight spaces like forest trails. A standard 24 70mm lens is a flexible all rounder for most situations.
Stabilizers: A small tripod or a gimbal stabilizer helps avoid shaky shots, especially during low light or when filming video while the vehicle is moving slowly.
Filters: A polarizing filter (CPL) reduces glare from water, glass shiny vehicle paint. It also deepens sky colors, which is especially useful in desert and mountain photography.
Protection Gear: Off road trips mean dust, water occasional rain. A simple rain cover or dry bag for your camera goes a long way in protecting your gear.
Thar vs Scorpio N: 7 Brilliant Differences That Actually Matter (2026)
Best Camera Settings for Off Road Photography
Camera settings can feel intimidating a few basics cover most situations you’ll face on a Thar trip.
| Situation | Suggested Setting |
| Bright daylight | Lower ISO (100 200), faster shutter speed |
| Golden hour | Lower ISO, wider aperture (f/2.8 f/5.6) |
| Action shots (moving Thar) | Shutter speed 1/500 or faster |
| Low light/dusk | Higher ISO (800 1600), use a tripod if possible |
| Dusty conditions | Slightly faster shutter speed to freeze dust particles |
If you’re shooting in auto mode, that’s perfectly fine too. Most modern cameras and phones handle exposure well; just make sure you’re not shooting directly into the sun without protecting the lens.
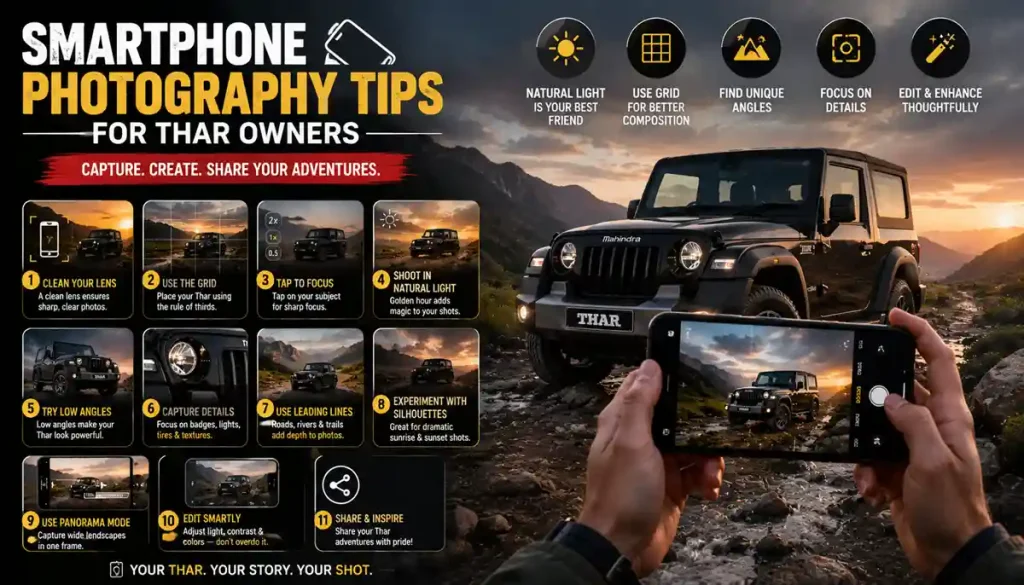
Smartphone Photography Tips for Thar Owners
Most people start with a phone that’s completely fine. Here’s how to get the most out of it.
Turn on the grid lines in your camera settings. This helps you align the Thar using the rule of thirds, which we’ll cover shortly.
Tap on the Thar itself before shooting your phone focuses and exposes correctly for the vehicle rather than the bright sky behind it.
Avoid using digital zoom, since it reduces image quality. Instead, move closer physically or crop the photo later during editing.
Best Locations to Photograph Your Mahindra Thar
Location changes everything about the mood of a photo. Here are a few terrain types worth exploring.
Desert Photography Techniques: Deserts offer wide open skies and dramatic shadows. Shoot during early morning or late afternoon to avoid flat, harsh light use the sand dunes as natural leading lines toward the Thar.
Photographing Mountain Landscapes: Mountains add scale and grandeur. Position the Thar on a winding road with the peaks behind it try shooting from a higher vantage point looking down for an aerial feel without a drone.
Forest Trail Photography: Dense trees create natural framing. Use gaps in the canopy for soft, dappled light let tree branches frame the edges of your photo for depth.
Beach Photography with Your Thar: Wet sand creates beautiful reflections of the vehicle. Shoot during low tide for more usable space keep the camera away from sea spray to protect it from saltwater damage.
River Crossing Photography: Water splashes add instant drama and motion. Use a faster shutter speed to freeze droplets in the air slow it down slightly to show a sense of movement and flow.
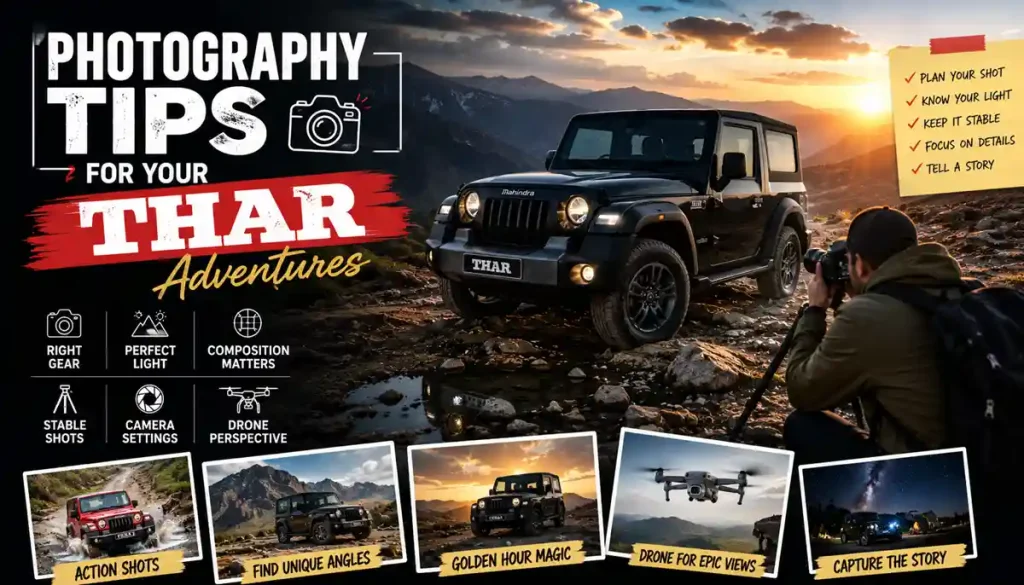
Golden Hour Photography Tips
Golden hour, the hour after sunrise and before sunset, gives soft, warm light that flatters both the vehicle and the landscape.
Shadows are longer and gentler during this time, which adds depth without harsh contrast. Skies also tend to show richer oranges, pinks purples, making for a more cinematic background.
Shooting During Sunrise and Sunset: Arrive at your location at least 20 minutes early to set up and test your composition. Shooting toward the sun creates dramatic silhouettes, while shooting with the sun behind you highlights the Thar’s color and details more clearly.
Low Light Photography Tips: If you’re shooting after sunset or before sunrise, keep your camera steady using a tripod or a stable surface. Raise the ISO gradually rather than jumping too high, since this helps avoid grainy images.
Using the Thar’s own headlights as a light source can also create an interesting, moody effect, especially on empty trails.
Rainy Season Photography
Light rain can actually improve your photos by adding atmosphere and reflective puddles. Just make sure your camera or phone is protected with a waterproof cover or a simple plastic bag with a hole for the lens.
Wipe the lens frequently, since water droplets on the glass will blur your shots.
Action Photography While Driving
Action shots capture the energy of an off road trip they require some planning for safety and technique.
Capturing Dust Trails: Position yourself a safe distance ahead or to the side of the moving vehicle. A faster shutter speed freezes the dust mid air, giving a sharp, dramatic trail effect behind the Thar.
For a different look, slightly slow the shutter speed to blur the dust, which creates a sense of speed and motion.
Using Reflections Creatively: Wet roads, puddles still water after rain can mirror the vehicle, doubling the visual impact of a single shot. Get low to the ground for the strongest reflection effect.
Drone Photography for Thar Adventures
Drones add a completely different perspective, showing the Thar as a small but powerful presence within a massive landscape.
Fly at a moderate height first to frame the shot, then adjust higher or lower depending on how much landscape you want to include. Top down shots work especially well on winding trails or river crossings.
Always check local drone regulations before flying, since some areas restrict or require permits for drone use, particularly near borders, airports protected zones.
Creative Composition Techniques
Composition is what separates an average snapshot from a striking photo it costs nothing to apply.
Rule of Thirds: Place the Thar off center, roughly along one of the grid lines, rather than dead center in the frame. This creates a more natural, balanced look.
Leading Lines: Roads, fences, rivers tire tracks can guide the viewer’s eye directly toward the vehicle, adding depth to the image.
Foreground Framing with Nature: Use branches, rocks tall grass in the foreground to frame the Thar. This adds layers to the photo and makes it feel more three dimensional.
Wildlife Photography Tips: If you spot wildlife during your trip, keep a respectful distance and use a zoom lens rather than approaching closely. Patience matters more than rushing the shot a calm animal in its natural setting always photographs better than a startled one.
Editing Your Adventure Photos
Editing should enhance your photo, not change reality. A few small adjustments usually go a long way.
Increase contrast slightly to make colors pop without looking unnatural. Adjust shadows and highlights so details aren’t lost in very bright or very dark areas. Crop carefully to improve composition if you didn’t get it perfectly right in camera.
Avoid over saturating colors, since this often makes photos look artificial rather than impressive.
Common Photography Mistakes to Avoid
Even enthusiastic photographers fall into a few repeated traps.
Shooting in harsh midday sun often creates flat, unflattering light with strong shadows. Cluttered backgrounds, like parking lots or busy roads, can distract from the Thar itself. Shaky, blurry action shots usually come from shutter speeds that are too slow for the situation.
Another common mistake is forgetting to clean the lens, especially after a dusty or muddy trail, which leads to hazy, low quality images.
How the Mahindra Thar Became a Cultural Icon: 7 Powerful Reasons Behind Its Rise
Safety Tips While Photographing Off Road
Photography should never come at the cost of safety. Always stay a safe distance from a moving vehicle never stand directly in its path for a shot.
Check the terrain before walking backward to frame a photo, since loose rocks or uneven ground are common on trails. If you’re shooting near water, be aware of currents and depth never enter water you haven’t checked for safety.
When using a drone, keep it within eyesight and avoid weather conditions like strong wind or rain that affect stability.
Social Media Photography Ideas for Thar Enthusiasts
If you’re sharing your Thar adventures online, a few simple ideas can boost engagement.
Timeline: A Simple Day of Shoot Plan
| Time | Activity |
| Early morning (before sunrise) | Arrive at location, set up gear |
| Sunrise to mid morning | Shoot golden hour photos |
| Midday | Rest, scout next location, avoid harsh light |
| Late afternoon | Prepare for golden hour again |
| Sunset | Capture final shots, silhouettes, reflections |
| After sunset | Pack up, review shots, protect gear from dust |
Final Thoughts
After spending time photographing off road trips, one lesson stands out clearly: patience beats equipment every time. The best Thar photos usually come from waiting for the right light or the right moment, not from owning the most expensive camera.
If there’s one habit worth building, it’s simply slowing down before you shoot. Look at the light, check your background frame with intention. The results are almost always worth that extra minute.